
Install from Troopr website
You can get started with Troopr directly from our website. The installation process begins with creating or signing into your Troopr account using your work email. This ensures your configuration is saved and synced across your workspace from the very beginning.

Step 1: Start the Sign-in Process
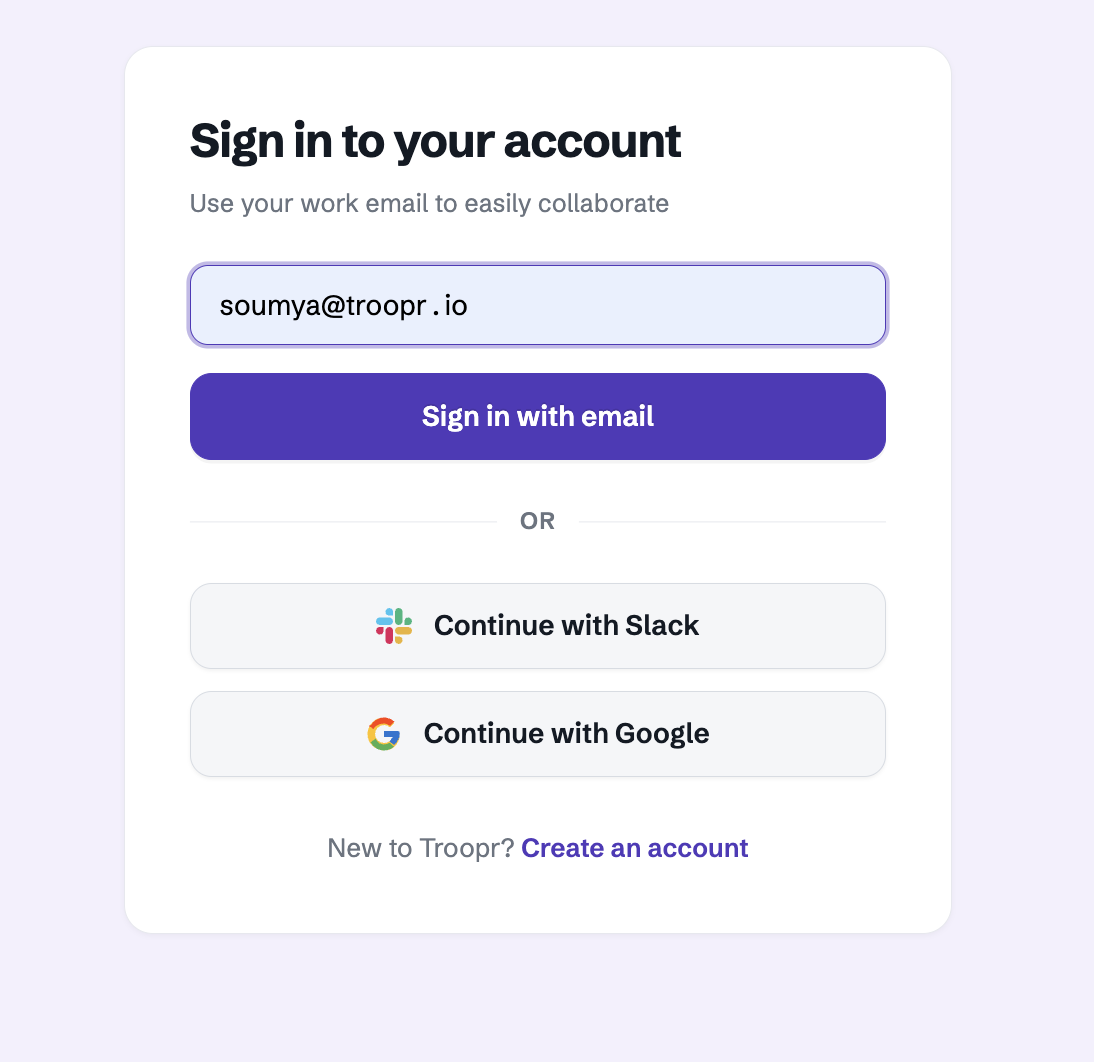
Visit the Troopr website and click on the "Get Started" or "Sign In" button. You will be directed to the login portal where you can choose your preferred authentication method.
Step 2: Authenticate Your Account
Troopr uses secure, passwordless authentication to keep your data safe. You have two primary options to log in:
Option A: Email OTP (One-Time Password)
Enter your work email address in the provided field.
Check your inbox for a verification code sent by Troopr.
Enter the code on the login page to verify your identity.
Option B: Google SSO
Select the "Continue with Google" option.
Choose your work Google account.
Follow the prompts to authorize Troopr to access your basic profile information.
Step 3: Connect to Your Workspace
Once you have authenticated your email, you will be prompted to connect Troopr to your team's collaboration platform (such as Slack).
Select the workspace you wish to integrate with.
Review the permissions requested by Troopr to manage tasks and notifications.
Click "Allow" or "Install" to complete the connection.
Next Steps
After the installation is complete, you will be redirected to your Troopr dashboard. From here, you can begin setting up your Jira connection, configuring check-ins, or inviting other team members to the workspace.