Connect to Jira cloud
To get started, you can navigate to Jira "Connection" page by navigating to the Troopr web app and then to "Project (Jira)" then choose the "Connection" tab on the left sidebar.
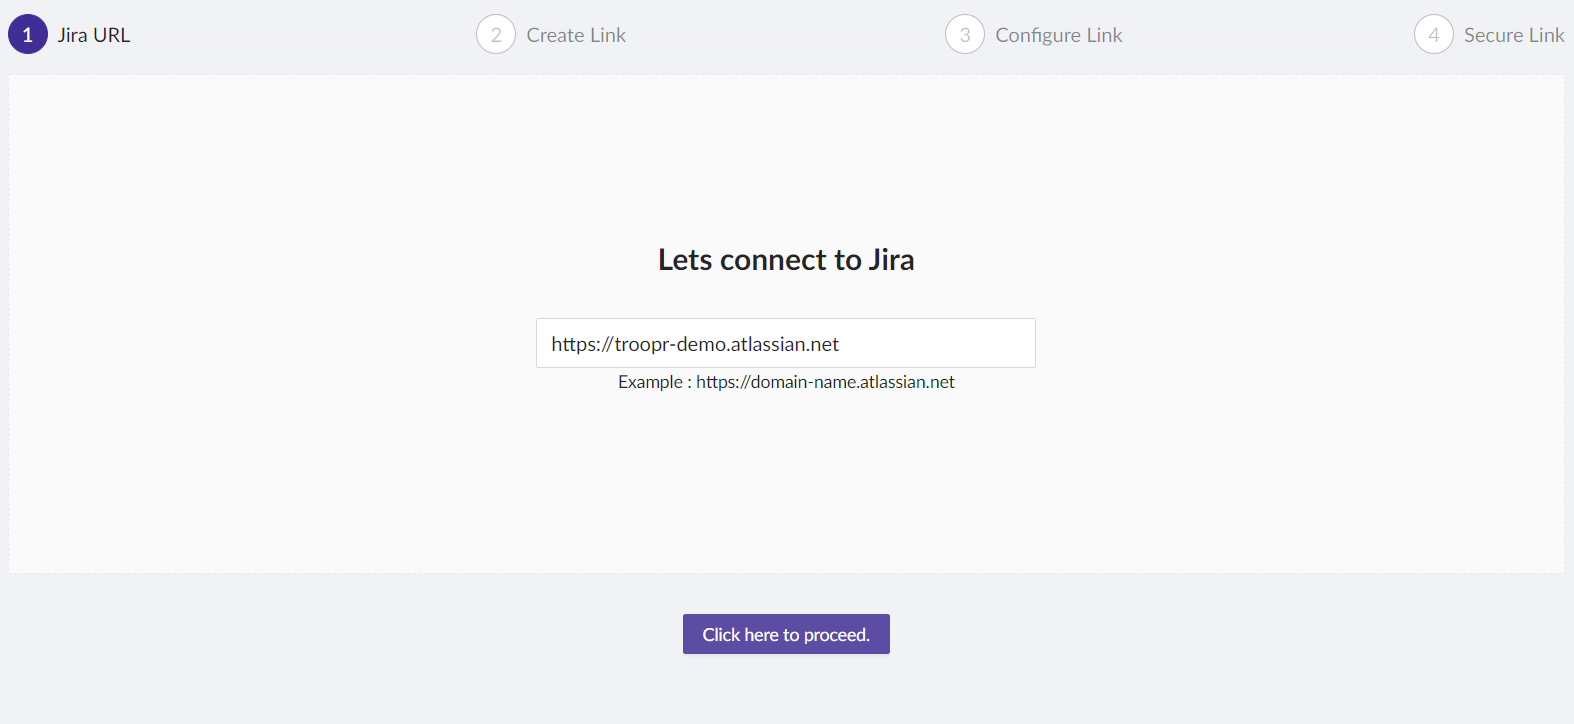
Step 1: Enter Jira URL
You will be redirected to the Jira connection page where you can enter your Jira domain and click “Next”
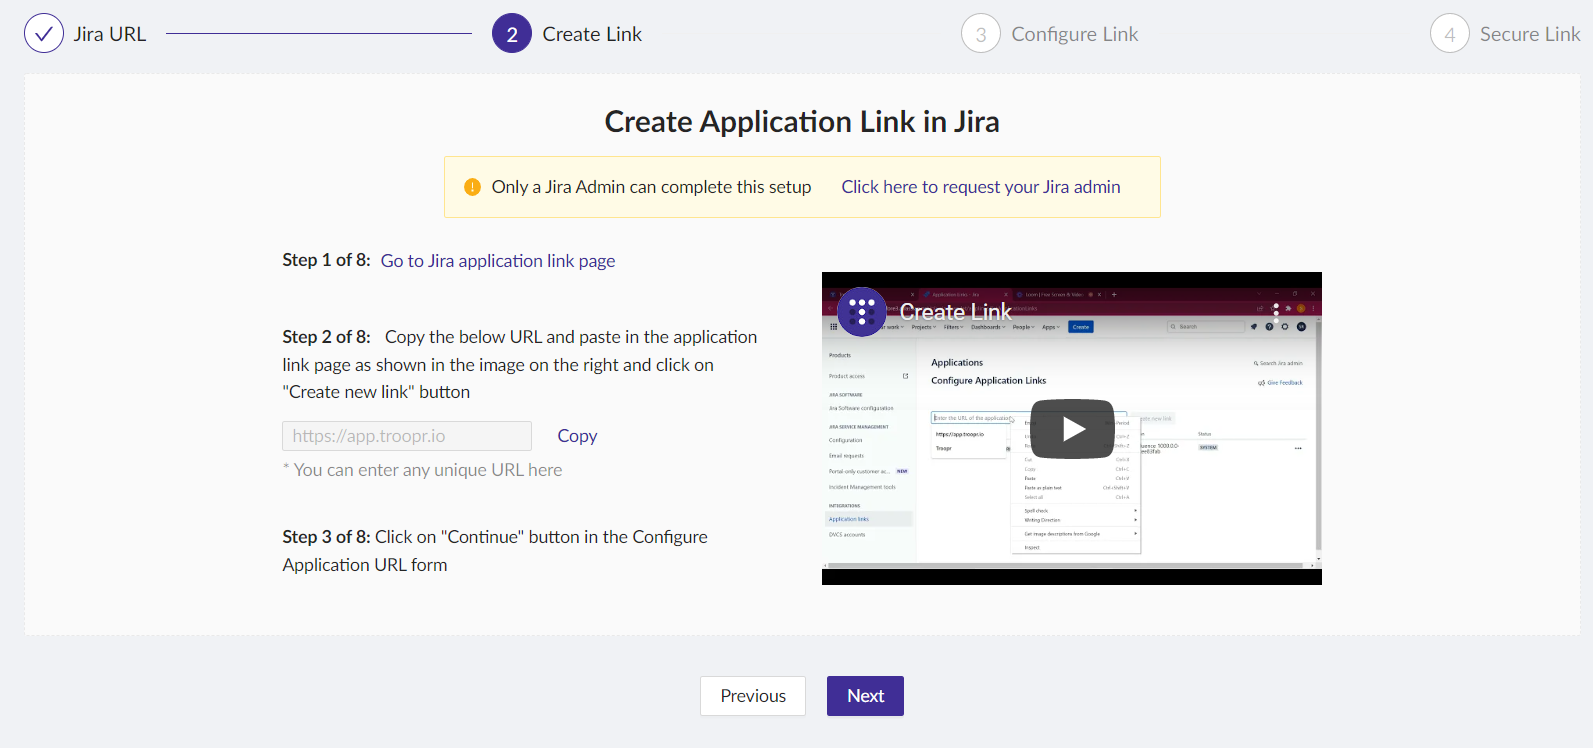
Step 2: Create Application Link in Jira
In this step, you will have to create a Jira Application link from your domain to https://app.troopr.io
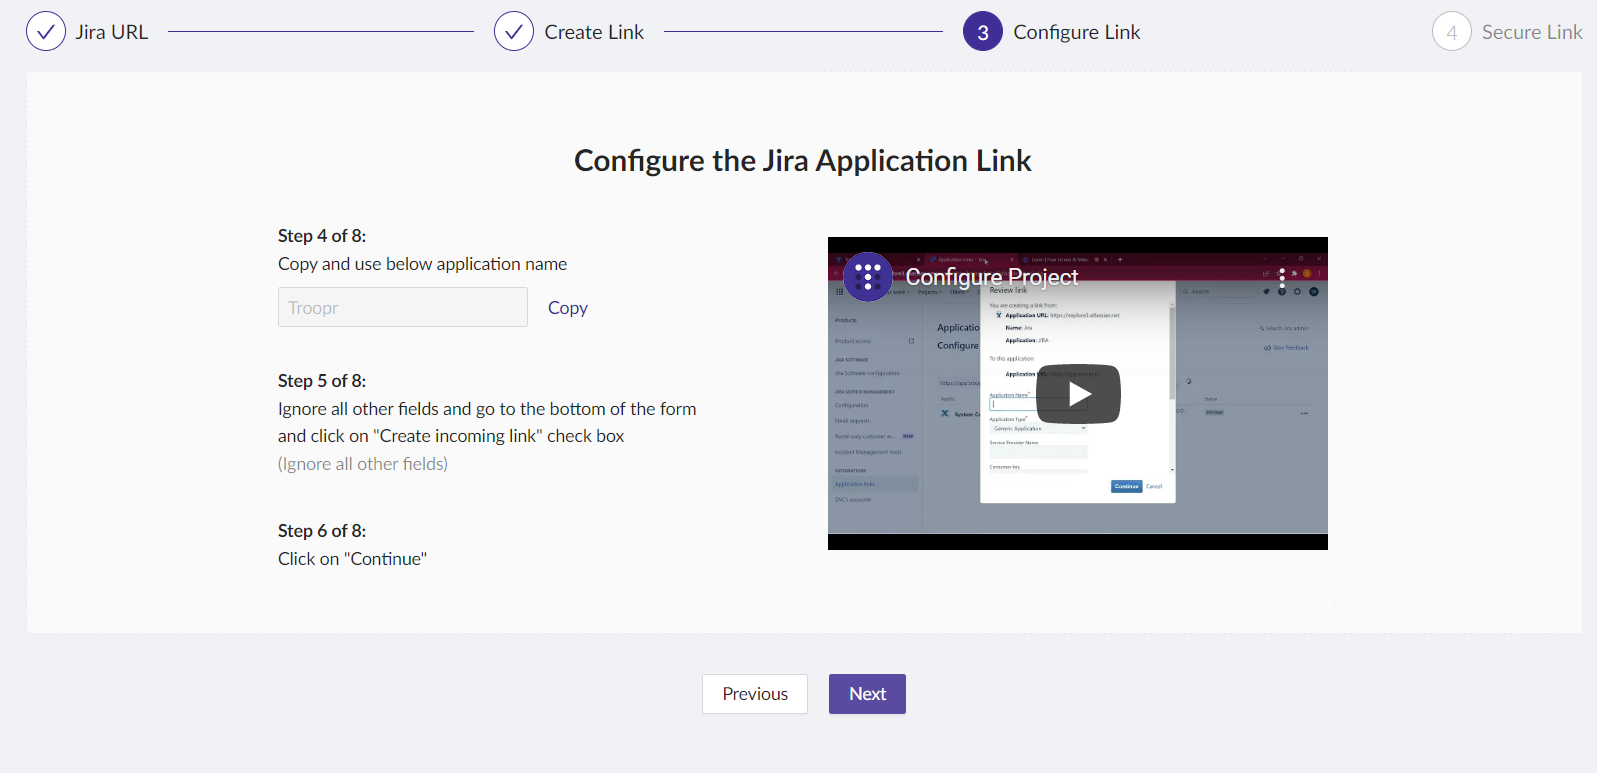
Step 3: Configure Jira App Link
Configure the created link and click “Next”
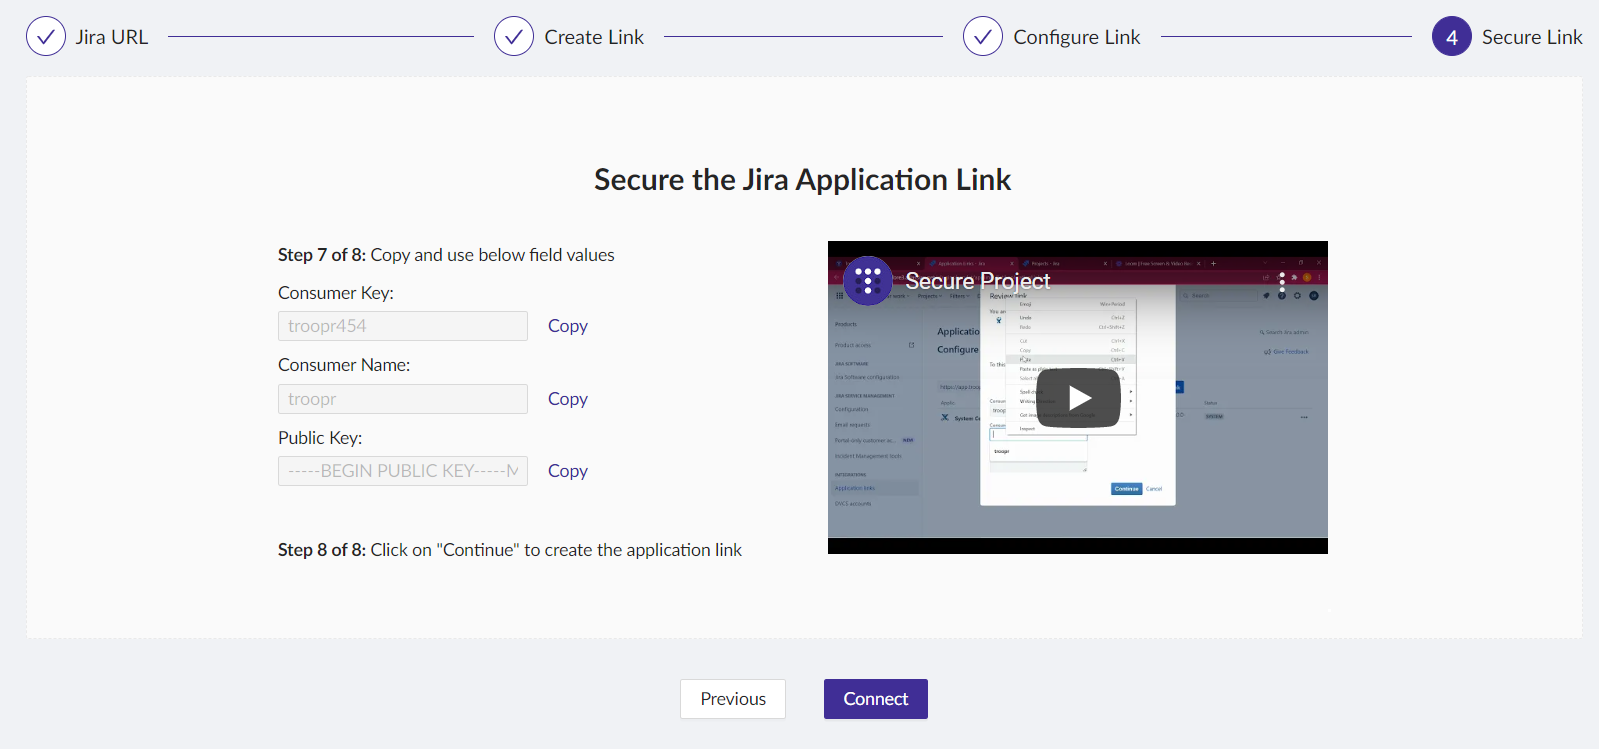
Step 4: Secure the Jira Application link
In the final step, secure the created link and click “Connect”
Step 5: Setup Demo Project Channel
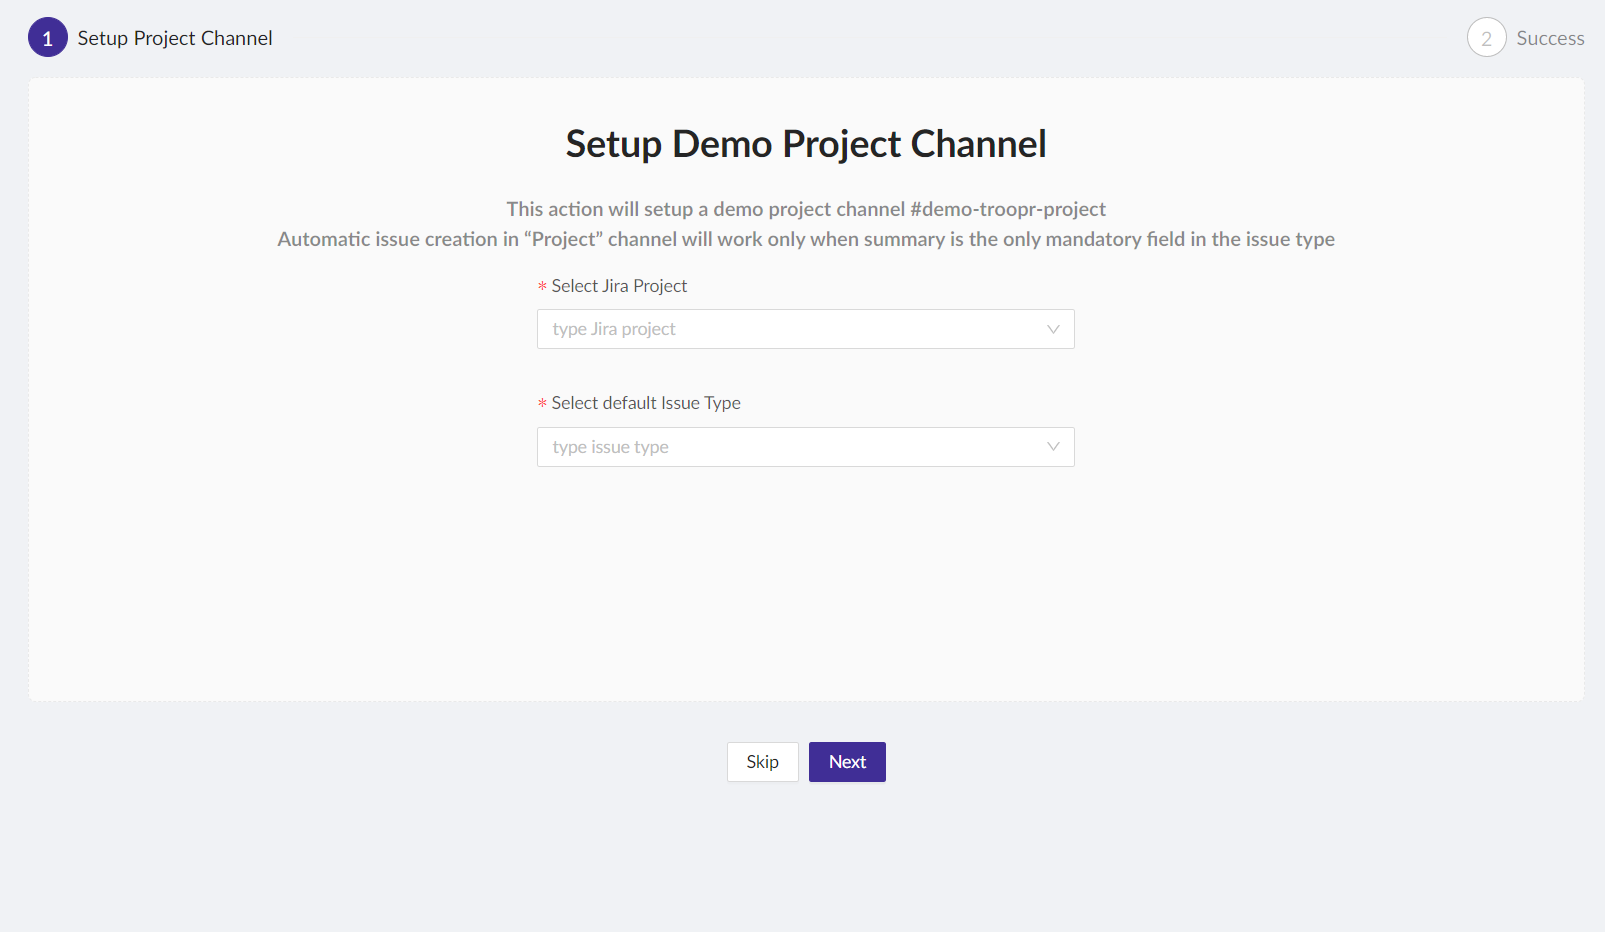
You can choose to setup a demo project channel by selecting the jira project, default issue type.
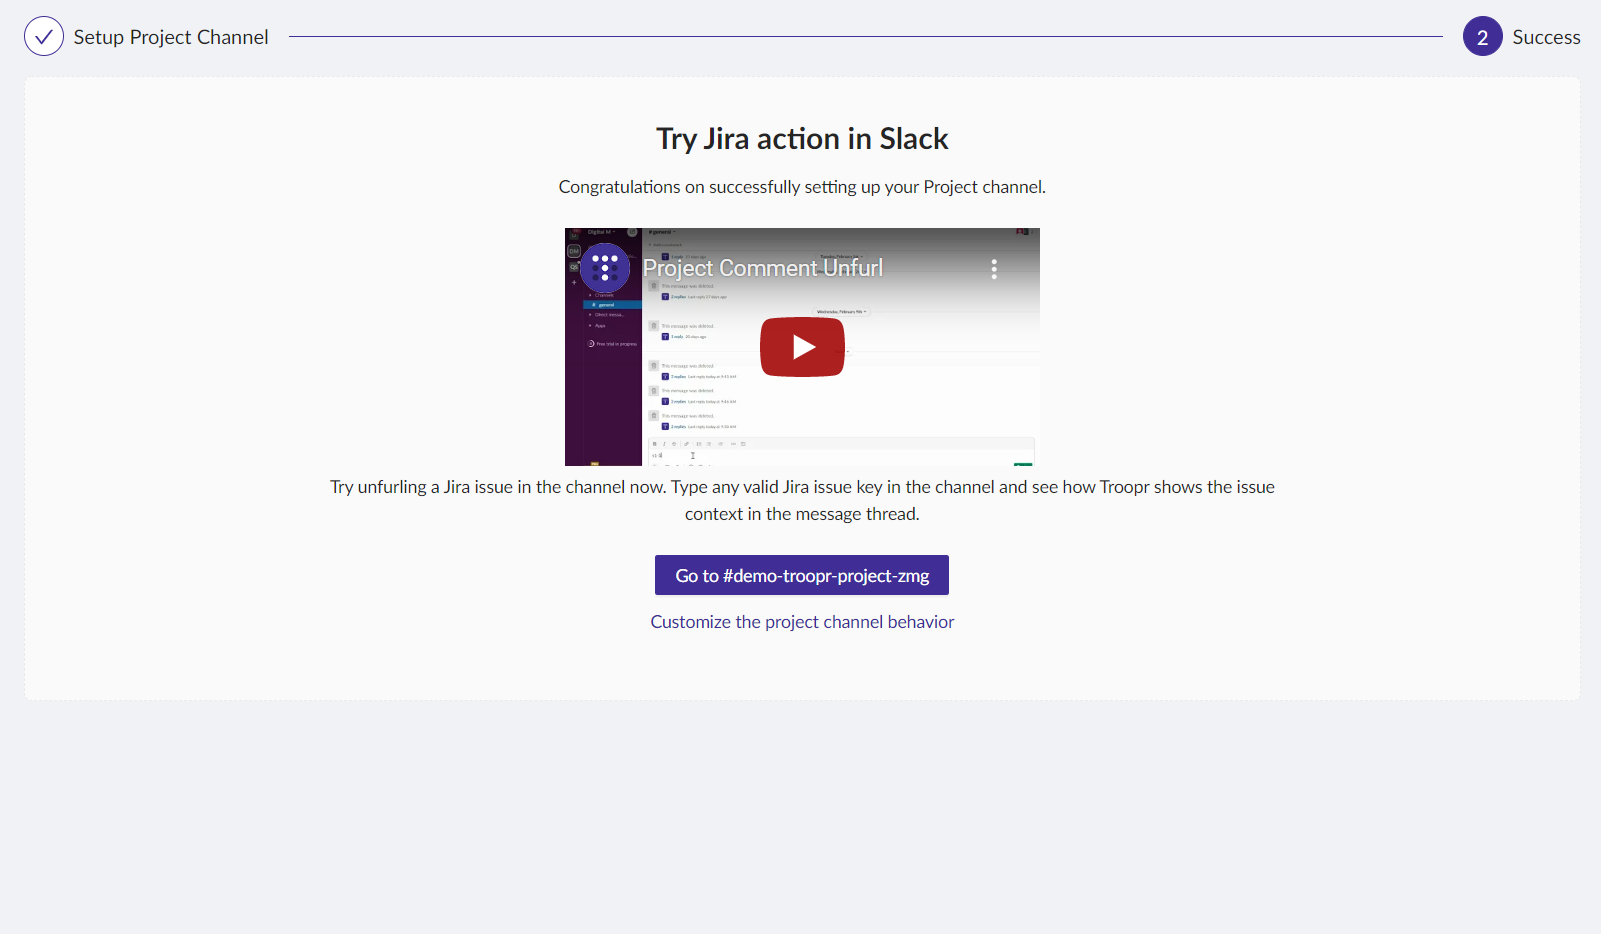
Your jira is connected and demo project channel is also created in Slack.
Customize your notifications and reports as per your workflow.
Type following command in any Slack channel to launch Troopr
/t